3D Raised Ink Print - Design beyond the surface
In today’s evolving world of print, it’s time to move past traditional flat designs and explore the dynamic possibilities of three-dimensional creativity. Incorporate 3D printing technologies into your large format print projects to create work that doesn’t just look impressive—it feels unforgettable.
We’re redefining the potential of large format printing by pushing the boundaries with tactile textures, layered visual depth, and interactive surfaces. Imagine your designs enhanced with:
-
Touchable Textures & Striking Visual Effects
-
Multi-dimensional Layers & 3D Structural Elements
-
Braille Integration for Accessibility & Inclusivity
-
Precision CNC Cutting Combined with High-Quality Print
-
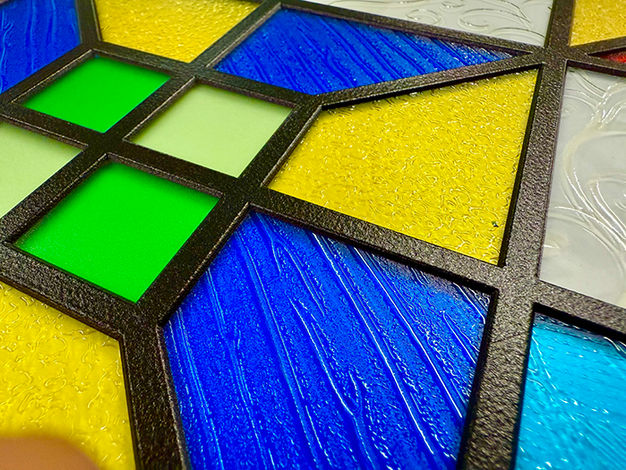
Vibrant Varnishes & Lacquers that Add Depth & Gloss
-
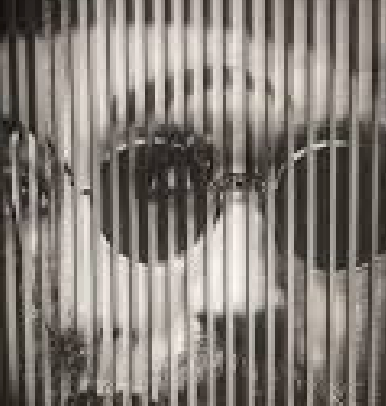
Lens and Lenticular Effects for Dynamic Motion and Illusion
-
3D Wallpaper
By integrating these advanced techniques, your print work becomes more than just visual—it becomes a sensory experience. Start designing for interaction, for immersion, and for impact. Break free from flat. Think beyond the surface. Design in 3D.
Raised Realities
Crafting Textured Surfaces with Precision Raised Ink Printing
Our Machines employ specialised print heads that deposit ink in controlled layers onto the substrate.
Ink Selection: Specially formulated inks designed for raised printing. These inks have unique properties that allow them to retain their shape and form after being applied.
Precision Printing: The printers can precisely control the amount of ink deposited, allowing for the creation of intricate textures and raised elements.
Layering Technique: The layering technique builds up the ink to create a raised effect. Multiple passes of the print heads are made over the same area to gradually build up the desired texture or raised design.
Curing Process: Once the ink is applied, it undergoes a curing process which rapidly hardens the ink and ensures durability.
Finishing Touches: After the raised ink has been applied and cured, the printed substrate may undergo additional finishing processes, such as lacquer or spot varnish coating to enhance durability and visual appeal.
Tactile Impressions
Redefining Large Format Print with Touchable Textures
Precision Printing onto Textured Surfaces
Our machines can print onto textured surfaces:
Slate
Woodgrain
Aged Metal
Leather
Fabric
The possibilities are endless.
Precision in Touch
Printing Braille for Inclusive Communication
Now large format print machines can print braille! Here’s an overview of how we achieve this:
Specialised Software: Integrated specialised software translates standard text into braille code. This software ensures accurate conversion and placement of braille dots.
Customised Print Heads: The printer is equipped with custom-designed print heads specifically engineered for braille printing. These print heads are capable of depositing tiny, raised dots with exceptional accuracy and consistency.
Layering Technique: Similar to its raised ink printing process, the printer employs a layering technique for braille printing. The print heads make multiple passes over the substrate, depositing precise layers of ink to form the raised braille dots.
Controlled Ink Application: The printer’s advanced control systems allow for precise control over ink deposition, ensuring that the braille dots are uniform in size, shape, and spacing. This level of precision is essential for readability and tactile clarity.
Curing and Finishing: Once the braille dots are printed, they undergo a curing process to ensure durability and longevity.
Dimensional Fusion
Integrating CNC Routing with Precision Printing for 3D Effects
This method combines our CNC routing capability with precision printing to create captivating 3D effects.
First, titles, text or patterns are routed into the substrate, creating 3D surfaces. These then serve as the canvas for printing.
Once registered with the printer, specialised print heads apply layers of ink, seamlessly integrating with the routed patterns to enhance depth and dimensionality.
This precise coordination between CNC routing and printing transforms flat surfaces into dynamic, multi-dimensional works of art.
This can then be combined with raised ink print to create a multi-layer 3D Print product.
Sheen and Shine
Transforming Print with Lacquer and Spot Varnish Accents
Flood Lacquer the print area:
Matt
Semi-Matt
Semi-Gloss
Gloss
Spot Varnish selected areas:
Text, titles, images and selected areas of images and illustrations in all of the above finishes.
Vivid Vibes
Illuminating Print with Neon Ink
Neon ink possesses a unique vibrancy and intensity that sets it apart from traditional inks. Its distinct fluorescent properties give printed materials a vivid and luminous appearance, making colours appear exceptionally bright and eye-catching.
The printing process with neon ink involves several stages to achieve vibrant and radiant results:
Preparation: Before printing, the design or artwork is prepared digitally, ensuring that it’s optimised for neon ink application. Colours may need to be adjusted to accommodate the unique properties of neon ink, which tends to be more translucent and vibrant compared to traditional inks.
Printing: The printer applies the neon ink onto the substrate using high-resolution print heads. The ink is deposited in precise layers to achieve the desired colour intensity and coverage. Multiple passes may be necessary to build up the neon effect, especially for areas requiring increased vibrancy.
Drying and Curing: After printing, the neon ink needs to dry and cure to ensure durability and longevity using UV curing systems that rapidly cure the ink using ultraviolet light, ensuring fast drying times and enhanced adhesion to the substrate.
Visual Illusions
Elevating Print with 3D Lens Effects.
We have software creating lens effects through lacquer layering. This is a sophisticated tool designed to manipulate lacquer deposition in precise patterns to achieve desired visual effects.
Here’s how it works:
Design Input: The process begins with inputting the desired design or image into the software interface. This can include 3D models, graphic designs, or images intended for conversion into lens effects.
Layering Parameters: The software allows the user to define parameters for lacquer layering, such as thickness, density, and pattern. These parameters determine how the lacquer will be applied to the substrate to create the desired lens effect.
Simulation and Preview: Before printing, the software provides a simulation or preview of how the lens effect will appear on the final print. This allows the user to adjust parameters as needed to achieve the desired visual impact.
Printing Process: Once the design and parameters are finalised the printer precisely deposits layers of lacquer onto the substrate according to the defined parameters, gradually building up the lens effect.
Curing and Finishing: After printing, the lacquer layers undergo a curing process to solidify and set the lens effect in place.
Visual Illusions
Elevating Print with Lenticular Lens Substrates
We have software creating lens effects through lacquer layering. This is a sophisticated tool designed to manipulate lacquer deposition in precise patterns to achieve desired visual effects.
Here’s how it works:
Image Preparation: The desired images or designs are carefully prepared for printing. For 3D lens effects, multiple perspectives of the same scene are captured or created to simulate depth perception. For lenticular effects such as animation or morphing, a sequence of images is prepared to be interlaced and printed.
Interlacing: In the case of lenticular effects, the prepared sequence of images is interlaced using specialised software. Interlacing involves arranging the images in a precise order and aligning them with the lenticular lenses to ensure the desired visual effect when viewed from different angles.
Printing Process: The interlaced images or prepared 3D designs are then printed onto the lenticular material using the high-resolution print heads. The printer precisely deposits layers of ink onto the lenticular material, ensuring accurate alignment with the cylindrical lenses.


